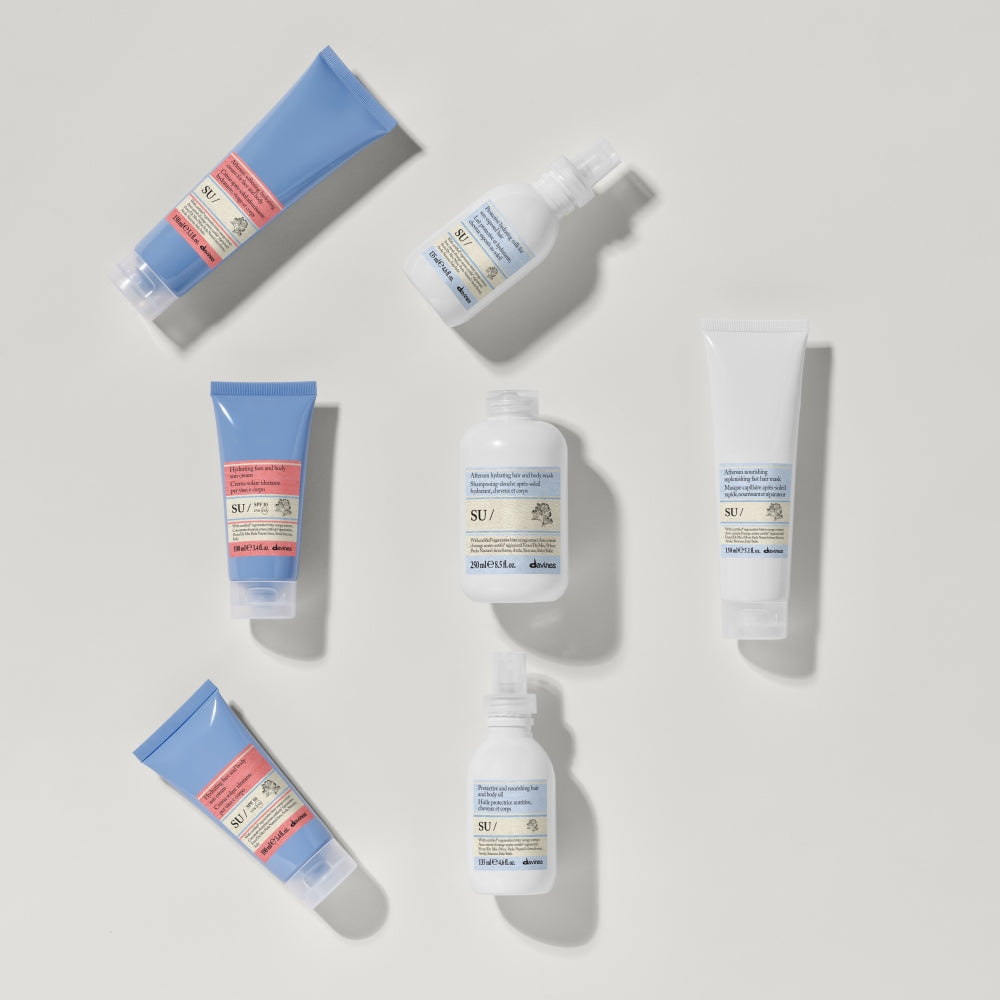
 Shop now Sunny days call for SU/A complete routine designed to protect your hair and skin before and after spending time in the sun.


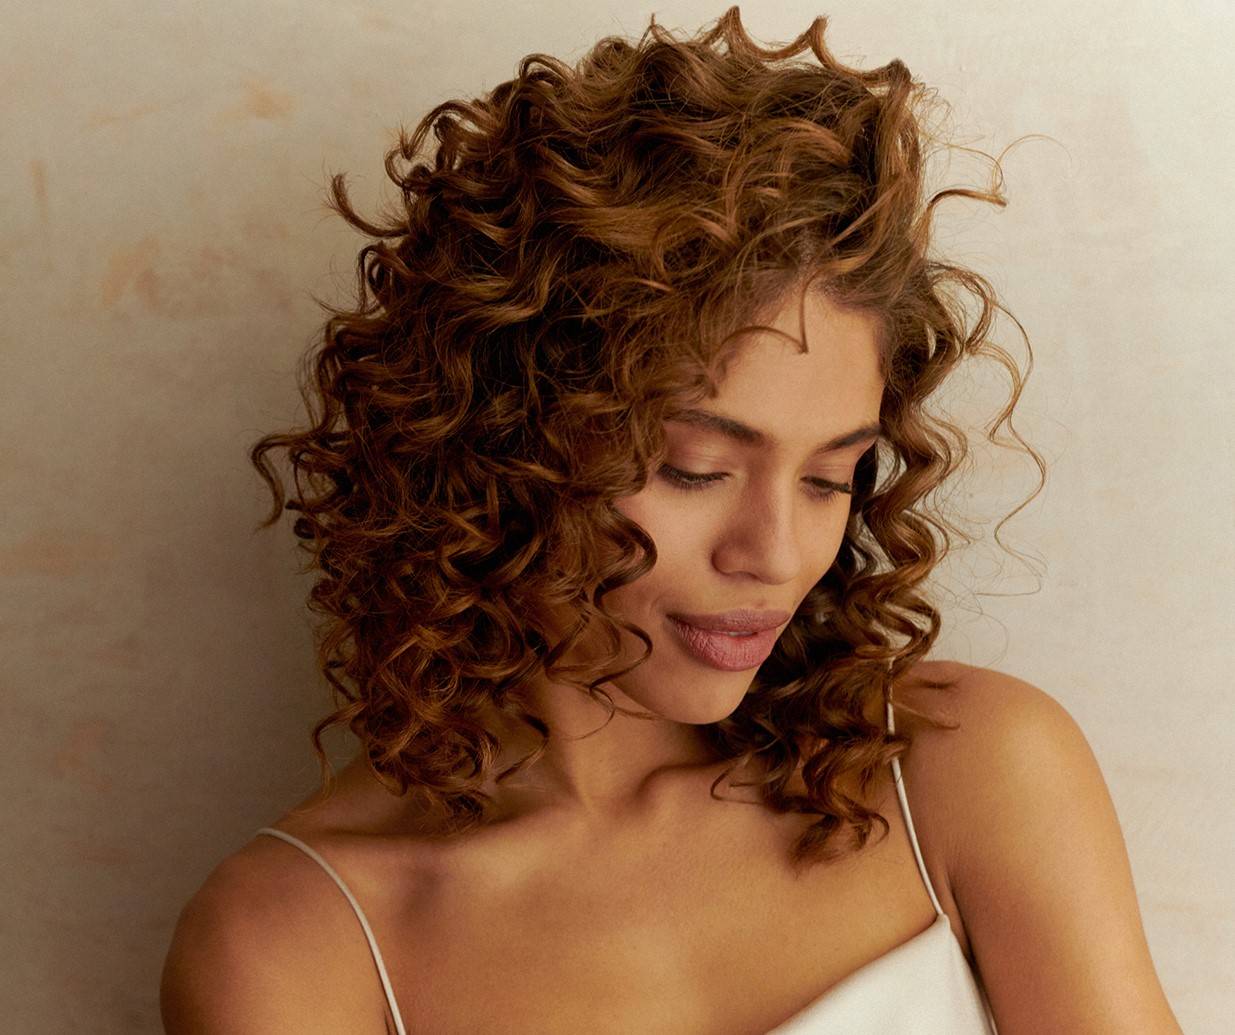
How To Do Heatless Curls
Have you found that heat is ruining your hair? Read this blog and discover 7 easy ways to DIY heatless curls so that you don’t damage your hair. Find the best products to lock your no heat curls in place for long-lasting style.
Like many people, I find that my hair texture and wave pattern can fluctuate — one day I’ll step out of the shower with moisturised little ringlets, and the next wash day my good friend Humidity will leave me with limp, frizzy strands.
So, in an effort to get an even, overall curl, I’ll end up using a curling wand to get the uniformity I desire.
While this isn’t the hardest hair routine in the world, constantly turning to heat styling products can end up damaging your strands, leaving you with fragile, dry hair. Of course you should always use a heat protectant spray when you’re using hot styling tools on your hair, but repeated exposure to high heat won’t be doing your hair health any favours.
Lucky for me (and anyone else who wants to achieve beautiful, easy curls without always turning to a curling wand), there are several ways that you can get heatless curls — and the best part is that most only require a few products!
Discover how to do heatless curls with these 7 easy step-by-step techniques, perfect for protecting your hair from damage while creating long-lasting curls. Plus, find out our best products to keep your curls in place all day.
Discover our heat protecting products
How To Do Heatless Curls - 7 Easy Ways
Here are some of the easiest ways you can achieve heatless curls. From beach waves to ringlets, no matter which tutorial for these hairstyles you choose to try, using curly hair products is a smart base to help your hair resist humidity, fight frizz and bring elasticity back to curls, no heat required.
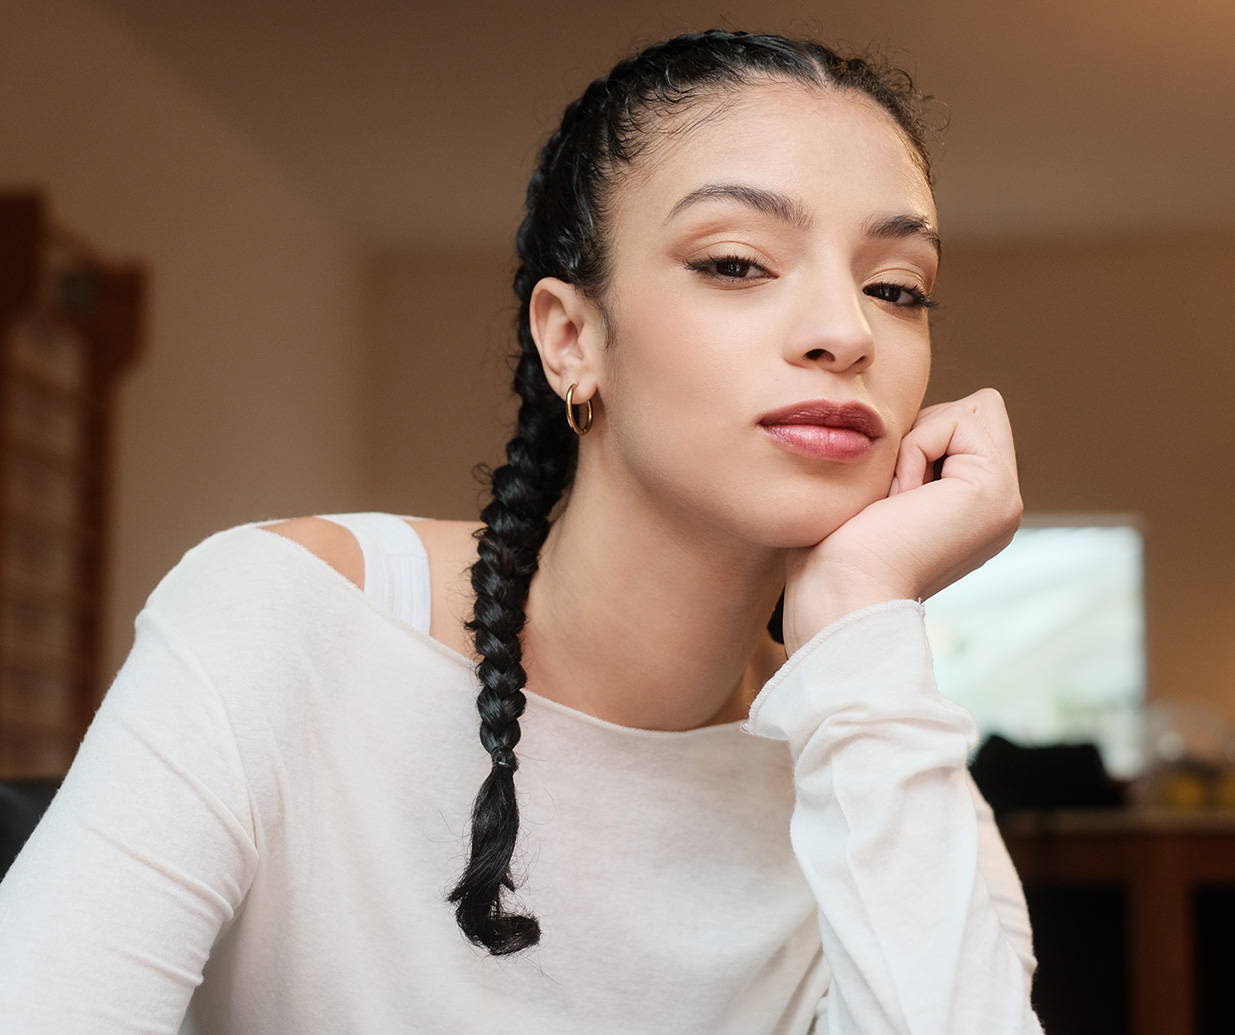
1. Braiding
Braiding is a simple and effective way to create heatless curls, ideal for medium to long hair. Depending on the braid type, you can achieve soft waves or more defined curls.
What You’ll Need:
✔ Wide-tooth comb or paddle brush
✔ Hair tie or scrunchie
✔ Light styling mousse or curl cream.
✔ Silk or satin bonnet or scarf (optional, for overnight wear)
Step 1: Start with Damp Hair
Begin with freshly washed, slightly damp hair. If dry, lightly mist it with water or leave-in conditioner. Avoid soaking wet hair, as it may not fully dry in the braids overnight.
Step 2: Apply a Styling Product
For extra hold and definition, apply a small amount of curl-enhancing cream or mousse.
Step 3: Choose Your Braid Type
Loose Braid – Soft, natural waves.
French Braid – More defined waves starting near the scalp.
Dutch Braid – Voluminous waves.
Multiple Small Braids – Tighter, textured curls.
Step 4: Braid Your Hair
For loose waves, create one braid at the back of the head or split your hair into two halves for two braids. For tighter curls, section hair into multiple smaller braids and follow either the Dutch or French braiding methods. Secure with a gentle hair tie or silk scrunchie.
Step 5: Let Your Hair Set
Leave braids in for at least 6–8 hours or overnight. Wrap hair in a silk or satin scarf to reduce frizz and friction against your pillow case.
Step 6: Undo, Style and Set
Once dry, gently unravel braids and separate curls with your fingers or wide tooth comb. Avoid brushing to prevent frizz. Finish with a light-hold hairspray or a few drops of hair oil for shine and frizz control.
2. No Heat Curls Using the Finger Coiling Method
This was one of the most valuable tips my hairdressers ever gave me when it comes to effortless curls that don’t add any extra time into my morning routine.
As it turns out, your hands are actually a pretty good styling tool to curl your hair! Here’s a quick tutorial on finger coiling for heatless curls:
What You’ll Need:
✔ Curl shampoo and conditioner
✔ Microfibre hair wrap or towel
✔ Texturising serum or lightweight styling cream
✔ Hair ties or scrunchies
Step 1: Wash and Prep Hair
First, wash and condition your hair with a curl shampoo and curl conditioner.
Step 2: Apply Curl Cream
After towel-drying, apply a curl cream or curl building serum through your hair. These products are an important step to help your curls hold their definition and structure when you go to set them.
Step 3: Divide and Twirl
Divide your hair into sections — then start by wrapping small sections of hair around your finger, twirling it tightly, and then releasing. When you’re finished with your whole head, let it air dry and enjoy your beautiful DIY, no heat, defined curls.
3. How to Do Heatless Curls with the Twist Method
The twist method is an easy way to achieve soft, effortless waves overnight, this heatless curl technique also adds volume and texture while keeping hair smooth and frizz-free.
What You’ll Need:
✔ Smoothing shampoo and conditioner
✔ Towel or microfibre hair wrap
✔ Texturising serum or lightweight styling cream
✔ Hair ties or scrunchies
✔ Light hair oil (optional, for shine and frizz control)
Step 1: Wash and Prep Your Hair
Start by washing your hair with a smoothing shampoo and conditioner to fight frizz and enhance shine. Towel-dry your hair until it’s damp but not soaking wet.
Step 2: Apply a Styling Product
Work a small amount of texturising serum or styling cream through your damp hair to help hold the waves and create a soft, beachy texture.
Step 3: Create Loose Twists
Part your hair as desired and divide it into two equal sections. Take each section and twist it away from your face, keeping it loose for relaxed waves or tighter for more defined curls. Once fully twisted, secure the ends with a hair tie or scrunchie.
Step 4: Sleep on It
Let your twists set overnight while you sleep. To reduce frizz and breakage, consider using a silk or satin pillowcase. In the morning, gently untwist your hair and use your fingers to separate the waves. Avoid brushing to maintain definition.
Step 5: Finish with Hair Oil
For extra shine and to smooth flyaways, run a few drops of light hair oil through your strands.
4. How to Do Heatless Curls with the Roller Method
I have a vivid memory growing up in the late 90’s/early 2000’s of my mum’s hot pink set of hair rollers. While she preferred the hot kind (how else would you get that signature 90’s volume?) you can also use curlers (aka hair rollers) in this easy heatless curl tutorial.
What You’ll Need:
✔ Velcro rollers, foam rollers, or flexi rods
✔ Wide-tooth comb
✔ Light styling mousse or curl-enhancing spray
✔ Hair clips or bobby pins (if needed)
✔ Silk or satin scarf (optional, for overnight wear)
Step 1: Start with Damp Hair
Wash and towel-dry your hair until it’s slightly damp. If your hair is dry, lightly mist it with water or a leave-in conditioner.
Step 2: Apply a Styling Product
For extra hold and definition, apply a light curl-enhancing cream or mousse and comb evenly through your hair.
Step 3: Section and Roll Your Hair
Divide your hair into sections based on your desired curl size. Smaller sections create tighter curls, while larger sections result in looser waves. Take a section of hair and wrap it around a roller from the ends up to the roots. Secure in place if needed. Repeat until all hair is rolled.
Step 4: Let Your Hair Set
Leave the rollers in for at least 6–8 hours or overnight. If sleeping in them, wrap your hair with a silk or satin scarf to reduce frizz.
Step 6: Style and Set
Gently remove the rollers and use your fingers to separate and shape the curls by twisting a few curls in the same direction. Avoid brushing to maintain volume!
Finish with a light-hold hairspray or a few drops of hair oil for shine and frizz control.
5. How To Do Heatless Curls - The Bun Method
Using buns to create heatless curls is simple and effective, adding volume and lift from the roots while leaving you with soft, natural waves.
What You’ll Need:
✔ Hair ties or bobby pins
✔ Light styling mousse or curl cream
✔ Silk or satin scarf (optional, for overnight wear)
Step 1: Start with Damp Hair & Section
For best results, work with slightly damp hair. If your hair is dry, mist it with water or a leave-in conditioner. Part your hair and divide it into sections. Smaller sections create tighter curls, while larger sections result in looser waves.
Step 2: Twist & Secure Buns
Twist each section into a bun and secure it with a hair tie or bobby pins. For more volume, position the buns higher on your head.
Step 4: Let It Set
Leave the buns in for at least 6–8 hours or overnight. If sleeping in them, wrap your hair with a silk or satin scarf to prevent frizz.
Step 5: Undo & Style
Gently release the buns and use your fingers to separate and shape the waves. Avoid brushing to maintain definition.
Step 6: Lock in Your Curls
Set your waves with a light-hold hairspray or a few drops of hair oil for extra shine and smoothness.
6. How To Do Heatless Curls - Pin Curls
Another retro hair classic, the pin curl technique is another simple way to get beautiful, heatless curls. All you’ll need are some bobby pins, styling product and a mirror to watch your work.
Another retro hair classic, the pin curl technique is another simple way to get beautiful, heatless curls.
What You’ll Need:
✔ Bobby pins
✔Microfibre towel
✔ Light styling mousse or curl-enhancing cream or gel
✔ Mirror
Step 1:
Towel-dry your hair and allow it to air dry slightly. Look for the same amount of “almost-dryness” in the hair rollers tutorial.
Step 2:
Apply a styling product that will help your curls set: either the curl cream and serum mentioned before will work, but you might also want to try a light modeling gel if your hair doesn’t hold curls well.
Step 3:
Part your hair as desired, and divide it into inch-wide sections all over your head.
Step 4:
Working section by section, roll your hair up to the root and secure it with a criss-cross of two bobby pins.
Step 5:
Let your hair air dry or sleep on it — if you’re wearing this look to bed, we’d recommend a head wrap as mentioned in the hair roller tutorial.
Step 6:
Remove the bobby pins, unravel the curls and gently work your fingers through your hair.
Step 7:
Finish with a hair oil and a spritz of hairspray to secure the style and add shine.
7. How To Do Heatless Curls using a Headband
Our last hair tutorial will leave you with bouncy, voluminous curls, and all you need is a headband.
What You’ll Need:
✔ A soft headband
✔ Light styling mousse or curl-enhancing cream
✔ Bobby pins (optional)
Step 1: Prep Your Hair
Start with slightly damp hair. Apply a light styling mousse to add hold and enhance curl definition.
Step 2: Position the Headband
Place the headband over your head like a crown, resting it just above your forehead.
Step 3: Wrap Your Hair
Take a small section of hair at the front, loop it over and under the headband. Gradually add more hair to the section and continue looping until you reach the back. Repeat on the other side.
Step 4: Secure & Set
Once all your hair is wrapped around the headband, tuck in any loose ends and secure them with bobby pins if needed. Let the curls set for at least 6–8 hours or overnight.
Step 5: Release & Style
Gently unravel your hair from the headband and use your fingers to separate the curls.
Step 6: Lock in the Curls
Style with a light-hold hairspray or a few drops of hair oil for extra shine and smoothness.
Tips to help your curls stay
If you’re noticing that your curls and waves are looking a little limp after a day or so, try applying a curl revitalising spray to fight frizz and add elasticity and volume. Sometimes, oil can be a culprit in making your hair look limp, so a spritz of dry shampoo at the roots will also add volume without damaging your curls.
If defined curls aren’t really your thing, and you’d just like some movement and piecey texture, a beach hair spray is a great way to get tousled, casual locks.
Swap out your cotton pillowcase for one made of silk or satin to keep your curls looking their best when you wake up each day.
These materials allow your hair to glide over the surface of the pillow, which minimises the chances of frizz, damage and breakage.
Save time in the morning, save your hair from heat and have long lasting curls with our heatless curl methods above. If you have any additional techniques that have worked for you, be sure to let us know in the comments!
By Lauren Hannel, staff contributor
cover photo by Cassell Ferrere
GUIDE Keep your hair colour vibrant for longer! Discover expert tips, from wash-day rituals to styling secrets, to prevent fading...

SALON EXCLUSIVE
Join us in our journey to protect and restore our precious water resources.

GUIDE Discover essential products to repair and restore damaged, stressed strands. Rebuild strength, boost shine, and bring life back to...