
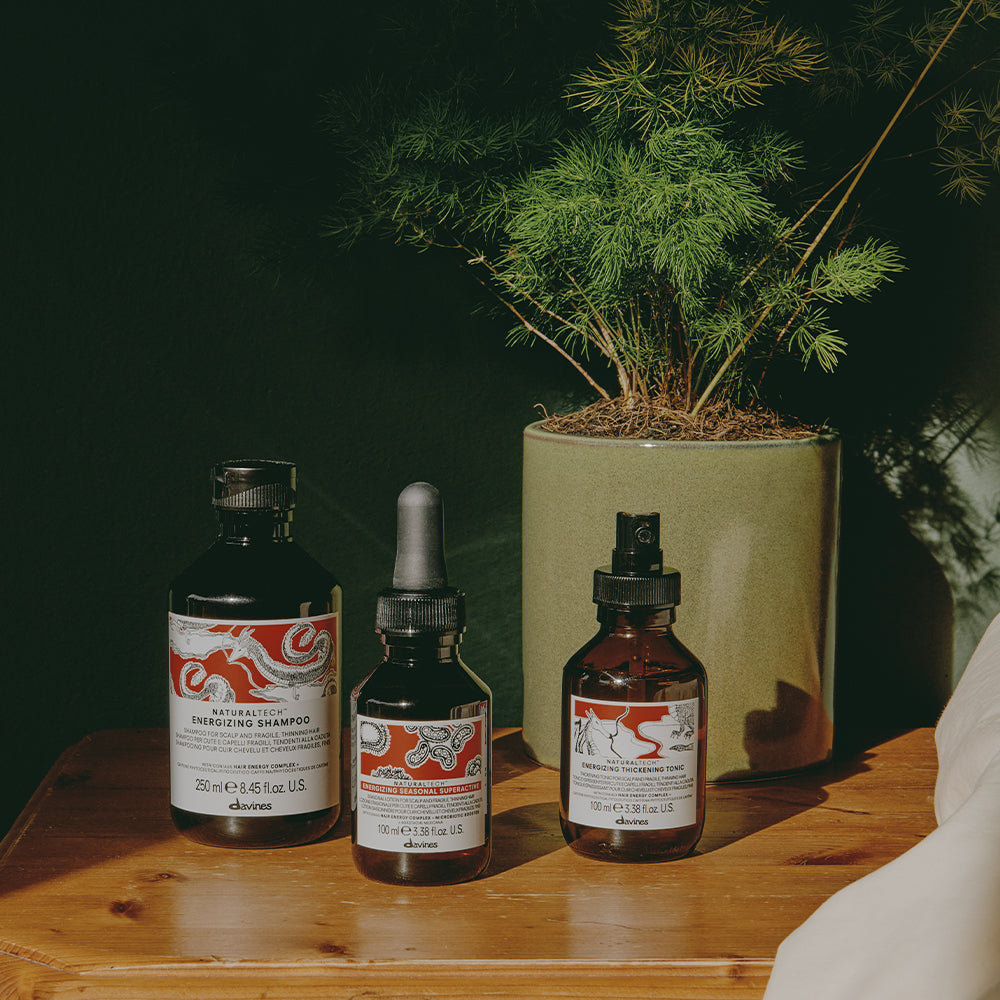
 Shop now Discover NaturaltechFind formulas that offer exactly the care your scalp and hair need with Naturaltech.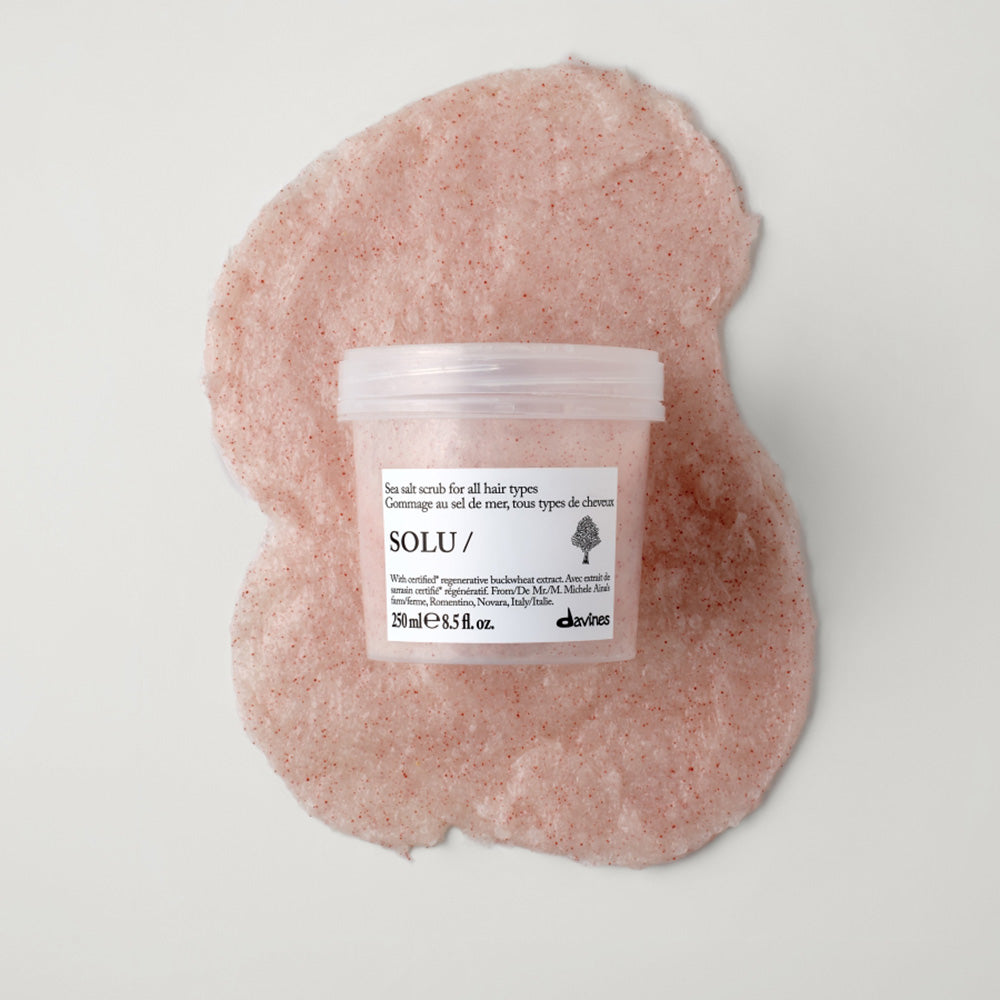










PRO TIPS
How to Spot Heat Damaged Hair, and What Actually Helps
We asked four UK hair experts how to keep hair feeling strong and healthy alongside heat styling, and they also spill the tea on preventing future damage.
We’ve all heard the term “heat damage”, but what does it actually mean? Is a weekly blowdry really that bad? What about daily?
Heat damaged hair is hair whose internal protein structure and outer cuticle have been altered by high temperatures. It looks dull, feels rough, snaps instead of stretching, and if you’re curly, it stops holding its pattern. The part nobody wants to hear is that it doesn’t recover.
So if you’re worried about heat styling, colour fading, or what pollution is doing to your hair, read on. Four hair experts reveal how to keep hair feeling strong and healthy alongside heat styling, and they also spill the tea on preventing future damage.
Our Experts


Jade Summers
AIT, Trichologist, Colour Specialist and Davines Guest Artist
Sophie Trinder
Co-director and stylist at Trinder Hair Studios, St Albans
Melissa Timperley
Award-Winning Hairdresser, Salon Owner and Founder of MT Masterclass
Marc Trinder
Co-director and stylist at Trinder Hair Studios, St Albans
What is heat damaged hair?
Heat damage is structural. It happens when high temperatures crack the cuticle and break the bonds holding your hair’s keratin together, and the fibre can’t rebuild itself afterwards.
Time for a bit of a science lesson. A hair strand is primarily made of a protein called keratin. Layers of keratin are held together by hydrogen and disulphide bonds, wrapped in a protective outer layer called the cuticle. Styling tools work by temporarily breaking and reforming those hydrogen bonds to bend a hair strand into shape. This is how a straightener convinces curly hair to lie flat, and how a curling wand gets straight hair to fold.
If this is done repetitively, without protection, the cuticle begins to lift and crack. Moisture escapes faster than it can be replaced, disulphide bonds start to break down, and you end up with textbook signs of heat damage. Research on hair cosmetics describes how heat converts keratin’s ordered structure into a disordered one, which is why the change holds rather than reversing.
It’s cumulative, too. Just one hair-sizzling session won’t fry your hair. A protectant-free daily habit will.
Where damage shows up first
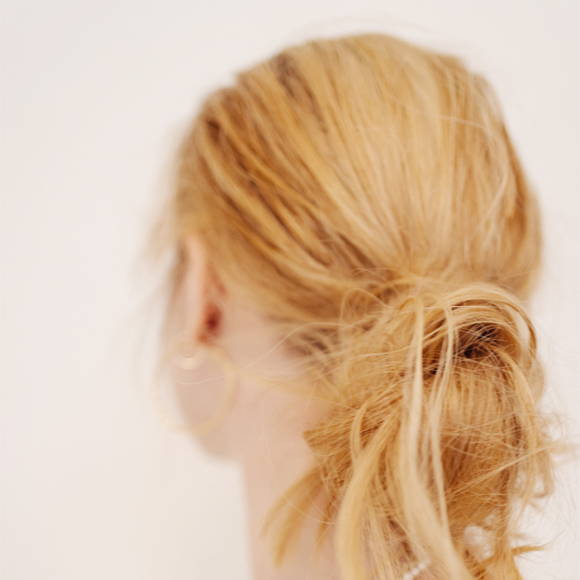
The pieces around your face go first, almost every time.
Those hairs are finer than the rest of your head to begin with. They take more environmental exposure, they get pulled every time you tie your hair back, and because they’re the ones you can actually see while you’re styling, they get worked over again and again with straighteners while the back of your head gets one pass.
So if you’re checking for damage, start there rather than at your ends. Fraying and breakage along the hairline and the face-framing lengths is usually the earliest sign, and it turns up long before the rest of your hair looks affected.
Curly and wavy hair is more vulnerable throughout, because the bends and coils within a curl pattern create natural weak points within the hair structure.
How to tell if your hair is heat damaged
Heat damaged hair snaps instead of stretching. That’s the clearest single test you can do at home. Healthy hair has elasticity, so a wet strand pulled gently will give a little and spring back. Damaged hair just breaks.
The other signals, roughly in the order people notice them:
It looks dull, and won’t hold shine however much conditioner you throw at it.
It feels rough or straw-like, especially when dry.
The ends are frayed or split, sometimes splitting up the shaft rather than just at the tip.
It tangles more than it used to, and is harder to comb through wet.
Curly and wavy hair loses its pattern in patches and won’t revert after washing.
One of these on its own is often just dryness. Several together, and particularly the snapping, is heat damage.

Can heat damaged hair be repaired?
Not in the way most people hope. Once your hair is damaged or split, you can’t nurse it back to health. You can make it look and behave far better, sometimes dramatically so, but the only thing that truly removes heat damage is a pair of scissors.
“It can’t truly be repaired, so prevention is always better than trying to fix the damage afterwards,” says Melissa Timperley, award-winning salon owner and educator atMelissa Timperley Salons in Manchester.
That’s not a counsel of despair, mind. Masks, leave-ins and bond-building treatments genuinely improve smoothness, shine and manageability, and they cut down on further breakage by making hair easier to handle. What they’re doing is improving how a damaged fibre looks and behaves, not rebuilding it.
For most people the honest answer is a combination. Have the worst of it cut, look after what’s left, and change the habit that caused it. A stylist will tell you how much needs to come off, and it’s usually less than you fear.
What protein and bond treatments can and can’t do
Protein and keratin treatments do help damaged hair, and it’s entirely possible to use too many of them.
Hair needs protein and moisture in balance. Protein gives the fibre its strength, moisture gives it flexibility. Load in protein without matching moisture and your hair goes the other way, turning stiff and rough and snapping rather than stretching, which is exactly what you were trying to fix.
It’s easy to do by accident, too. Once you start looking, keratin, collagen, silk and hydrolysed wheat protein turn up across shampoos, conditioners, masks and leave-ins, so a routine built entirely from products labelled strengthening or repairing can tip the balance without a single dedicated protein treatment in it.
One more thing worth knowing. Stiff, rough hair often gets blamed on protein when the real culprit is mineral build-up from hard water, which feels much the same. If you’re in a hard water area, rule that out first. More on it below.
What causes heat damage?
Which styling tools do the most harm?
Straighteners, by a clear margin. They press direct, sustained heat onto a narrow section of hair, usually at the highest temperature the tool offers, and usually more than once over the same piece. Curling wands and tongs sit below them, still direct contact but in shorter bursts. Blow-drying is gentler again, because hot air is less aggressive than a hot plate, and a wrap-dry gentler still. None of them is risk-free, and all of them want a protectant. Timperley tells her clients to imagine blasting a hairdryer on their faces every single day. “You’d expect your skin to become dry and dehydrated, and your hair is no different. Styling tools like straighteners often reach temperatures similar to an oven, so a heat protector helps create a barrier between the hair and the heat.”
Damage risk also climbs with whatever’s already been done to your hair. “The risk is even greater in chemically processed hair, such as bleached or relaxed hair,” says Jade Summers, director, colourist and colour educator at Hare & Bone in London. “So, using appropriate temperatures, a heat protectant and avoiding excessive daily heat styling are all important for maintaining long-term hair health.”
Hard water and mineral build-up
Heat isn’t the only villain of this story, though. If, like a lot of the UK, you’re unlucky enough to reside in a hard-water area, minerals like calcium and magnesium can build up on the hair shaft with every wash. And then there’s chemicals absorbed from water pipes and swimming pools. Before you know it, your hair is coated in things you don’t want it to be, making it look dull and rough.
Research on hair strength has measured the effect directly, finding reduced baseline strength in hair washed in hard water compared with deionised water, and a corresponding role in breakage.
When this happens, adding heat can basically cook these mineral deposits into your hair, accelerating colour fading and breakage.
Summers says there are ways around this. “For people experiencing build-up, using a clarifying or chelating shampoo periodically can help remove excess residue and restore the hair’s appearance.” Periodically is the operative word, mind, because chelating formulas are built for occasional use rather than every wash.
HEART OF GLASS Silkening Chelating Shampoo is the one to reach for, with SOLU as the clarifying option if your build-up is more product than mineral.
UV and pollution
UV breaks down the proteins in hair the same way it does in skin, fading colour and weakening its structure. And it’s working on you before you’ve even picked up a straightener.
Pollution particles settle on strands and scalp, dulling shine and contributing to the same build-up problem as hard water. Combine all of this with heat styling and you’re asking a lot of your hair.
“We often think about protecting our skin from the environment, but our hair is exposed to the same daily stressors,” confirms Summers. “UV rays and pollution contribute to what’s known as oxidative stress, where free radicals gradually damage the hair fibres over time. This can leave hair feeling drier, looking duller, becoming more prone to breakage and, if coloured, contribute to faster fading.”
You can’t avoid either entirely. Regular cleansing, formulas with antioxidants, and something physical over your parting in strong sun all reduce the load.
Does heat protectant work?
Yes, though not quite in the way the name suggests. A heat protectant doesn’t make your hair heatproof. It forms a barrier that slows how fast heat transfers into the fibre, and limits how much moisture escapes while you style.
Which matters, because it explains both why it’s worth using every single time and why it isn’t permission to whack a straightener up to its maximum setting. A protected strand at 180°C fares far better than an unprotected one. A protected strand at 230°C is still being damaged.
Applied to damp hair before blow-drying and to dry hair before hot tools, it’s the single most effective thing you can do, and it takes about fifteen seconds.
How to protect hair from heat damage
Use a heat protectant every time
Every time you reach for heat, no exceptions. And there’s no need to spend loads on lots of separate formulas, because plenty of multi-tasking leave-ins have heat-protecting properties built in. Take some time to find what really works for you.
Turn the temperature down
Most hair doesn’t need more than 185°C, and the damage curve steepens sharply above it. Somewhere between 180 and 230°C is where the cuticle starts lifting and cracking on repeated exposure, so the gap between the middle and the top of your tool’s range is the gap between styling and cooking.
“Turn down the heat, the medium heat setting exists for a reason,” says Marc Trinder, co-director and stylist at Trinder Hair Studios in St Albans. “Hair is strong but it doesn’t need anything higher than 185°C to style it into shape.”
Fine, fair or previously bleached hair wants less again. Coarse or very curly hair might need a little more, but it should still be the lowest temperature that actually works rather than the highest the tool offers.
Use a hairdryer properly
Keep it moving, keep it a hand’s width away, and finish on cold.
Nobody really teaches you this. Keeping the dryer moving avoids overheating one spot while the rest stays damp, use the coolest setting you can get away with, and keep the nozzle a reasonable distance from your precious scalp and lengths. Don’t press it right up to your hair, point it down the hair rather than up into it, and remember to seal the cuticle with a cold shot of air at the end.
One more thing. Let hair dry to around 80 per cent before you go near it with a brush, because wet hair stretches and breaks far more easily than damp hair.
Adjust for your curl pattern
Curls want lower heat settings, wider styling tools and combs, and don’t be afraid to use a heavy hand when it comes to leave-in protection.
Kept short deliberately, with a link to our existing guide on damaged curly hair for anyone who needs more.
Products that help prevent heat damage
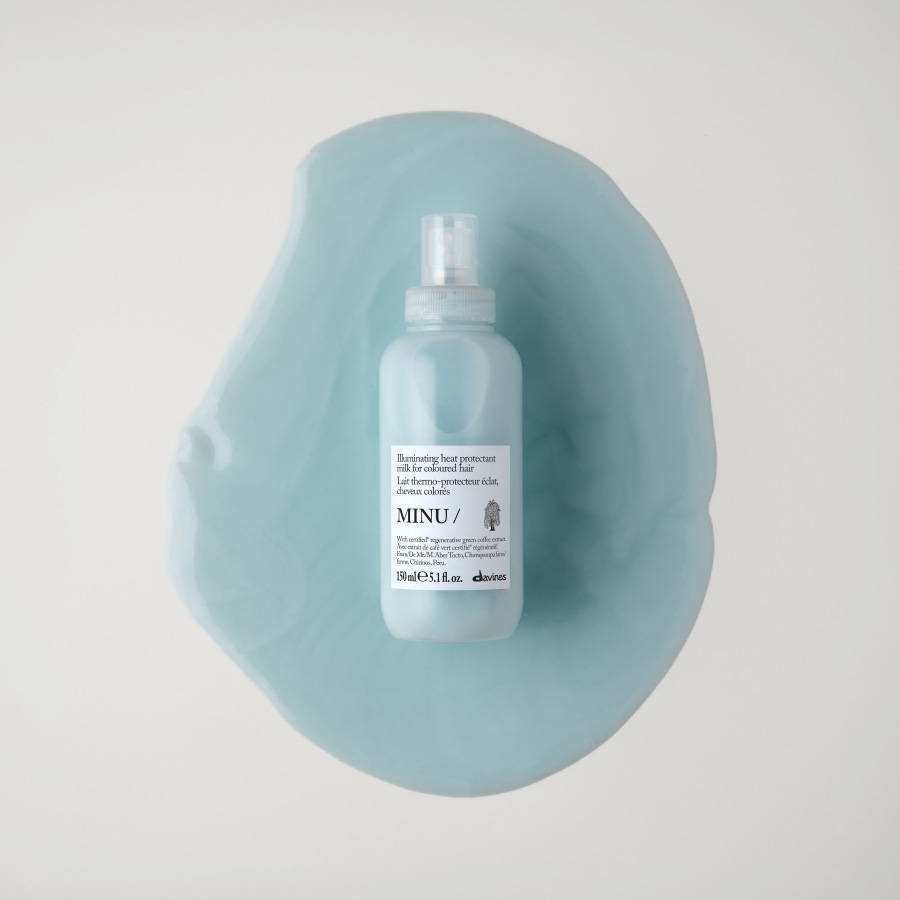
The multitasker. A leave-in treatment built around antioxidant-rich Roucou oil that detangles, controls frizz and protects against heat all in one step, making it a solid everyday option for most hair types.
Styling without heat
Swapping one heat-styled day a week for a heat-free one makes a real difference over a year, and the results are better than most people expect.
“Simple techniques like sock curls and heatless rollers work a treat,” says Timperley. “Or try enhancing your natural texture with a sea salt spray. For shorter hair, I love using a sea salt spray and a few flat clips to shape the fringe while it dries naturally.”
We’ve got two guides that go into the detail. One on getting heatless curls to hold, and one on air-drying without the frizz.

TLDR?
“Healthy hair isn’t about never using heat, it’s about using it mindfully,”says Summers. “I encourage clients to think about reducing the frequency of heat styling rather than eliminating it altogether. Always use a heat protectant, ensure the hair is fully dry before using hot tools, and choose the lowest effective temperature for your hair type. On days that don’t need a polished finish, embrace your natural texture, air dry, try heatless curls, create updos like braids and buns with low tension, and this will all help reduce cumulative damage. Over time, these small habits preserve moisture, minimise breakage and help maintain stronger, healthier hair.”
So don’t completely swear off your straighteners just yet. Style the way you want to, just build the protection in.
Want more expert advice?
And if you’d like a routine tailored to your hair type and styling habits, visit your nearest Davines salon to speak to one of our experts.

Frequently asked questions about shampoo ingredients
Is heat damage permanent?
Yes. Hair isn’t living tissue, so once the cuticle is cracked and the bonds inside the fibre are broken, the strand can’t rebuild itself. Products can improve how damaged hair looks and behaves, but the only thing that removes the damage is cutting it off.
How can you tell if hair is damaged from heat?
The clearest test is elasticity. Gently stretch a wet strand: healthy hair
gives a little and springs back, heat damaged hair snaps. Alongside that, look for dullness conditioner won’t fix, a rough or straw-like feel, split or frayed ends, more tangling than usual, and curls that no longer hold their pattern.
Do I need to cut heat damaged hair?
To remove it, yes. How much depends on how far up the shaft the damage goes, and a stylist can assess that in minutes. It’s usually less than you fear, and it’s often concentrated around your face rather than spread across your whole head.
Does heat protectant actually work?
It does, though it doesn’t make hair heatproof. It forms a barrier that slows heat transferring into the fibre and limits moisture loss while you style. Protected hair at a moderate temperature fares far better than unprotected hair. Protected hair at maximum heat is still being damaged.
What temperature should I straighten my hair at?
Most hair doesn’t need more than 185°C. Fine, fair or previously bleached hair wants less. Coarse or very curly hair might need a little more, but always aim for the lowest temperature that actually holds the style rather than the highest setting the tool offers.
Which is worse for hair, straighteners or a hairdryer?
Straighteners, clearly. They press direct, sustained heat onto a narrow section, usually at a high temperature and often more than once over the same piece. A hairdryer uses hot air rather than a hot plate, which is gentler, though it still wants a protectant.
Is protein good for heat damaged hair?
In balance, yes. Protein gives the fibre strength and moisture gives it flexibility, so you need both. Layering several products labelled strengthening or repairing can tip things too far towards protein, which leaves hair stiff and snappy. If yours already feels rough and stiff, the answer is usually more moisture rather than more protein.
Can hard water cause hair damage?
It contributes. Hard water leaves calcium and magnesium deposits on the hair shaft with every wash, and research has measured reduced hair strength as a result. Applying heat to mineral-coated hair bakes those deposits in. A chelating or clarifying shampoo used periodically lifts the build-up.
Read more!

PRO TIPS How to Spot Heat Damaged Hair, and What Actually Helps We asked four UK hair experts how to keep...
Rescue mission: how to bring brittle hair back to life You’re trying so hard to brush gently but no matter...

SUSTAINABILITY Your hair, your planet: a guide to building a more sustainable haircare routine Creating a more sustainable haircare routine...